
How to Install a Y Strainer for Maximum Filtration Efficiency
Most people treat a Y strainer like it's a set-it-and-forget-it part. Screw it in, move on to the next fitting, done. And to be fair, that's mostly true, it's not a complicated component. But the way it gets installed actually has a lot more influence on how well it filters than most people give it credit for. Get the orientation wrong, or skip a step you thought didn't matter, and you end up with a strainer that's technically installed but not really doing its job the way it should.
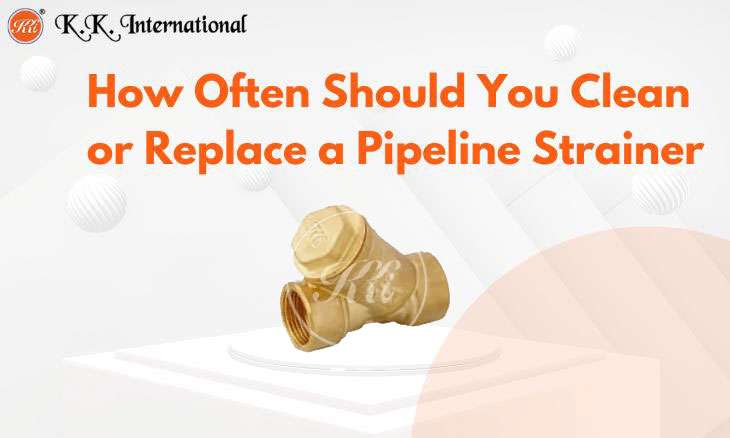
If you're putting in a Y Strainer (BSP) like the one from KK International, or really any brass Y strainer, here's what actually makes the difference between a strainer that performs well for years and one that ends up causing more problems than it solves.
Why Installation Actually Affects Filtration Performance
It's easy to assume a strainer either works or it doesn't, but that's not quite how it plays out in real systems. The filtration screen inside can only do its job properly if the fitting itself is positioned and installed correctly. Flow direction matters. Orientation matters. Even something as basic as making sure the connection is fully sealed matters, because a loose joint upstream can let debris bypass the strainer entirely before it even gets a chance to filter anything.
So this isn't really about installing a part. It's about setting up the whole system to actually use that part the way it was designed to be used.
Get the Flow Direction Right, Every Time
This is the single most common mistake, and it's honestly an easy one to make if you're moving fast. A Y strainer has to be installed with the flow moving in the correct direction, which is almost always marked with an arrow somewhere on the body of the fitting. Install it backwards and the strainer either won't filter effectively or, worse, it can end up trapping debris in a way that actually restricts flow more than it should.
Before tightening anything down, take the extra ten seconds to confirm which way that arrow is pointing relative to your system's flow. It sounds obvious written out like this, but on a busy job with a dozen fittings going in back to back, this is exactly the kind of detail that gets missed.
Positioning the Strainer Correctly
A Y strainer needs to sit in a spot where the "leg," meaning the branch that holds the screen, points downward or at least to the side, not straight up. If it's oriented with the screen pocket facing upward, gravity works against you instead of for you, and debris doesn't settle where it's supposed to. It also makes future cleaning a lot messier since you're fighting against the setup instead of working with it.
Ideally, install it in a straight, accessible section of pipe rather than tucking it into a tight corner or somewhere hard to reach. This matters more than people think, because a strainer that's a pain to access is a strainer that doesn't get cleaned as often as it should, and that defeats the purpose pretty quickly.
Don't Skip the Upstream Prep
Before the strainer even goes in, it's worth making sure the section of pipe leading up to it is reasonably clean and free of leftover debris from the installation itself, things like metal shavings from cutting or threading, bits of sealant, or general job-site grit. If that stuff is already sitting in the line before the system's even running, you're loading up the strainer with debris on day one instead of letting it do its actual job over time.
A quick flush of the line before final installation takes a few extra minutes and saves you from an early, unnecessary cleaning cycle right out of the gate.
Sealing the Connection Properly
This is where a lot of leaks quietly start, not from the strainer itself, but from a connection that wasn't sealed correctly during install. Since this is a BSP threaded fitting, make sure you're using the appropriate thread sealant or tape, and that the threads are clean and undamaged before assembly. Hand-tighten first to get it seated properly, then finish with a wrench, being careful not to overtighten, since that can actually damage the threading and create the exact leak you're trying to prevent.
A tight, properly sealed connection isn't just about stopping leaks either. It also makes sure all the flow is actually passing through the strainer screen instead of finding a gap to slip past.
Choosing the Right Mesh Size Before You Install
This step happens before installation, technically, but it's worth mentioning here because it directly affects how well the whole setup performs. The mesh size on the strainer screen needs to match what you're actually filtering. Too fine a mesh for a high-debris application and you'll be cleaning it constantly. Too coarse for a system that needs fine filtration and particles you actually wanted caught will just pass right through. Matching mesh size to the application isn't a small detail, it's really the whole point of the part.
Keep Maintenance Easy From the Start
One of the real advantages of a Y strainer, especially one built with a removable screen like the KK International version, is that cleaning doesn't have to be a hassle if it's installed right. Make sure there's enough clearance around the fitting to actually remove the screen without needing to dismantle half the pipeline just to get to it. This is one of those things that seems minor during installation and becomes very obvious later when it's time for routine maintenance.
Why This Level of Detail Actually Pays Off
A Y strainer that's installed correctly protects your pumps, valves, and the rest of your system quietly and effectively for years. One that's installed carelessly might still technically work, but it won't filter as well, it'll clog faster, and it'll end up costing more time and money in maintenance down the line than it should have. The part itself, when it's built from solid brass with a proper leak-proof design, is only as good as the installation behind it.
If you're setting up a Y Strainer (BSP) for a residential, commercial, or industrial system, taking the time to get flow direction, positioning, and sealing right from the start makes the difference between a fitting that quietly does its job for years and one you're back here troubleshooting a few months from now.
Need help picking the right strainer size or mesh for your specific system? Reach out to the KK International team, they can walk you through exactly what fits your setup.


