
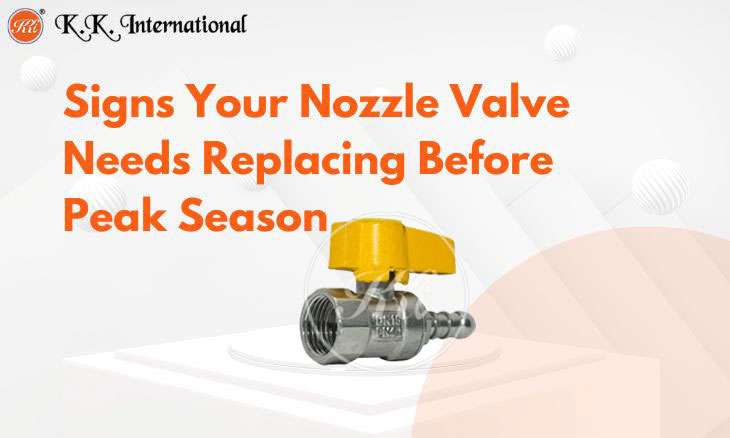
How to Install a Brass Nozzle Ball Valve the Right Way
You know that feeling when you finish a fitting, turn the water back on, and there's already a drip forming at the joint? Nine times out of ten that's not a bad part. It's a rushed five minutes somewhere in the process. Ball valves aren't hard to put in, nozzle ball valves included, but there's a difference between "it's on there" and "it's on there right," and that difference shows up a week later, not immediately.
This is basically a walkthrough of what actually matters when installing something like the Brass Nozzle Ball Valve from KK International. Not the obvious stuff everyone already knows. The parts people skip when they're moving fast.
First, Why the Install Even Matters This Much
A ball valve's whole purpose is control. Shut the flow off completely, or dial it in for a spray pattern, whatever the job calls for. And that control only works if the valve is seated properly in the line. Here's the annoying part though: a poorly sealed valve will still turn. It'll still look installed. It just won't hold pressure the way it's supposed to, and that gap between "looks fine" and "actually fine" is where most callbacks come from.
So don't think of this as screwing in a part. Think of it as setting up the thing that controls everything past it.
Threads First, Wrench Later
This valve runs BSP threading. Before touching a wrench, confirm your pipe or fitting actually matches. Sounds obvious, gets skipped constantly anyway. Mismatched threading is probably the number one reason a brand new valve leaks on day one. If it doesn't thread on smoothly by hand, don't force it. Stop and check compatibility instead.
Look at the Valve Before It Goes In
Takes ten seconds. Check the threading for damage, work the handle a few times to make sure the ball turns freely, and peek inside for any debris that might've settled in during shipping or storage. Finding out there was something jammed inside after you've already sealed everything up is not a fun way to spend an afternoon.
Same goes for the line itself. Metal shavings, sealant scraps, general job-site grit from cutting and threading, clear all of it out before the valve goes on. Otherwise that stuff just sits right against the ball mechanism from the very first day.
Why the Material It's Made From Actually Matters Here
This is where a lot of the problem traces back to in the first place. Cheaper air cocks, especially ones not made from proper brass, wear down faster under the kind of constant high pressure and repeated use these systems put them through. Brass holds up because it resists corrosion, handles pressure fluctuations without warping, and keeps its seal integrity a lot longer than lower-grade alternatives.
A premium brass air cock, like the one from KK International, is built specifically to handle that ongoing stress without breaking down early. It's a small part of the overall system, sure, but it's exactly the kind of part where cutting corners on quality ends up costing more down the line in wasted air, energy, and eventually a full replacement anyway.
Sealant Technique Actually Matters
This is where a lot of leaks quietly begin. Thread sealant or PTFE tape on the male threads, wrapped in the direction that matches your tightening motion so it doesn't just unwind as you go. And don't pile it on thinking more is safer. A thick, sloppy wrap makes threading harder and can throw off alignment instead of helping it.
Hand-Tighten Before the Wrench Comes Out
Thread it by hand as far as it'll comfortably go first. This is how you catch cross-threading while it's still an easy fix, not after you've already forced it with tools. Once it's snug by hand, finish with a wrench, but stop once it's secure. Brass is softer than steel. Cranking down harder than necessary can crack the fitting or warp the threads just enough to cause the exact leak you were trying to prevent.
Orientation Matters More With Nozzle Setups
Because this particular valve is built with nozzle integration, positioning deserves a bit more thought than a plain shutoff valve would need. Make sure the handle has full range of motion once it's installed, and that the nozzle end actually points the way your spray or irrigation setup needs it to. It's entirely possible to install this correctly on a technical level and still end up with something awkward to actually use day to day. That kind of defeats the purpose of precise flow control in the first place.
Don't Skip Testing It
Once it's in, turn the water on slowly, not full blast right away. Watch the connection points for any sign of a leak under initial pressure. Run the handle through its full range a couple times, make sure it shuts off completely, no grinding, no resistance. If it's tight and smooth, good, you're done. If there's even a small drip at the threads, deal with it now. Re-seal it. Don't leave it and hope it seals itself over time, because it won't.
Where People Usually Mess This Up
Skipping the hand-tighten step is the big one. Going straight for the wrench feels faster in the moment but almost never actually is, not once cross-threading enters the picture. Ignoring flow direction relative to nozzle positioning is another one, especially on spray setups where the angle genuinely depends on getting this right the first time. And overtightening trips up more people than you'd guess, usually folks who are used to steel fittings where a little extra muscle doesn't do much damage. Brass just isn't that forgiving.
Why Bothering With All This Actually Pays Off
Installed properly, a brass nozzle ball valve should just work, smoothly and reliably, for years without needing much thought. That's the whole appeal of decent brass hardware to begin with: it resists corrosion, holds a tight seal, and doesn't degrade with regular use. None of that matters much though if the install was rushed. A few extra minutes on threading, sealant, and a proper test run is really what decides whether you get years of trouble-free performance or end up back at this exact joint in a few weeks wondering what went wrong.
If you're setting up irrigation, spray equipment, or general fluid control with a Brass Nozzle Ball Valve, treating the installation seriously from the first thread to the final test is what separates a valve that technically works from one that actually performs.
Need help figuring out the right size or configuration for your setup? Get in touch with the KK International team, they can help make sure you end up with the right fit for what you're actually building.


