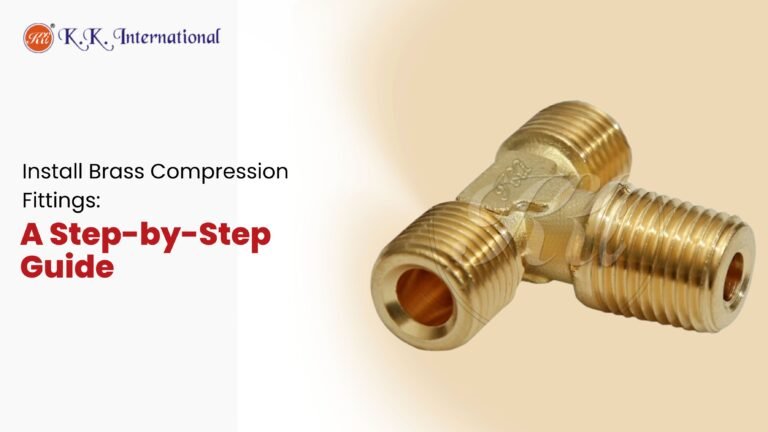
Install Brass Compression Fittings: A Step-by-Step Guide
Leaking pipes cost you time, money, and a lot of stress. Whether you’re setting up a new plumbing line or repairing an old one, getting a secure connection matters more than speed. Brass compression fittings give you that—no soldering, no special equipment, just a reliable seal that holds under pressure.
This guide walks you through the complete installation process, from cutting the pipe to checking for leaks. You’ll learn what tools you need, how to avoid the mistakes that cause failures, and when to tighten versus when to stop. By the end, you’ll have the confidence to install compression fittings the right way, the first time.
What Are Brass Compression Fittings?
Brass compression fittings join two pipes or tubes without heat or adhesive. They work through mechanical pressure—a nut compresses a ferrule (also called a ring or sleeve) onto the pipe, creating a watertight seal. The fitting has three main parts: the body, the compression nut, and the ferrule. When you tighten the nut, the ferrule deforms slightly and grips the pipe surface.
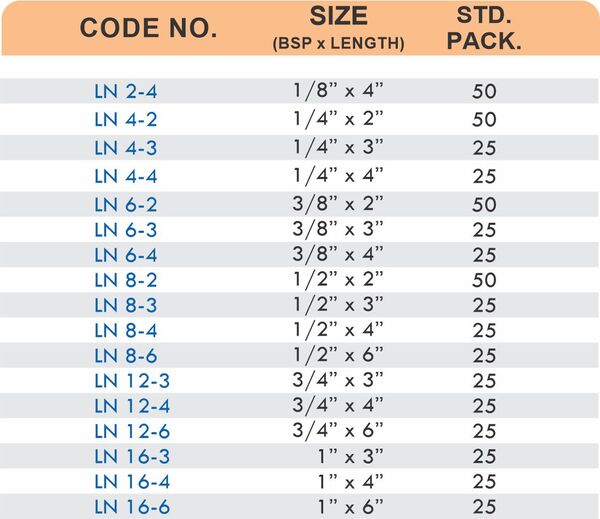
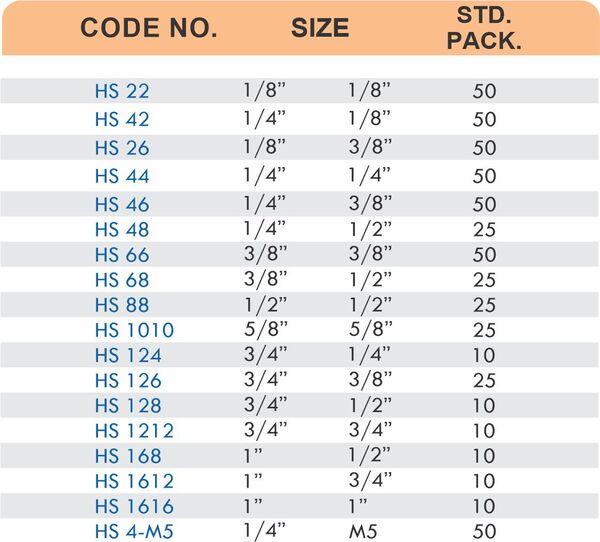
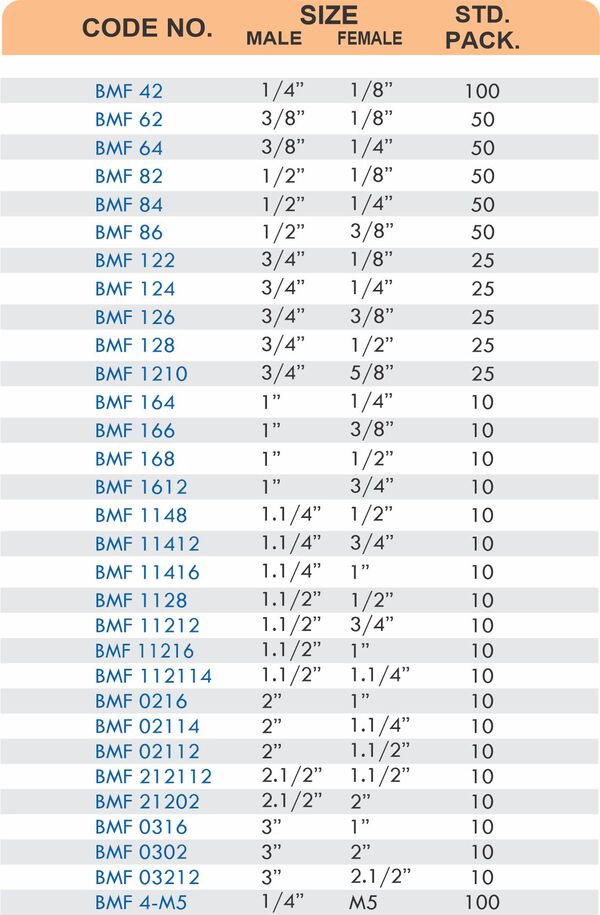
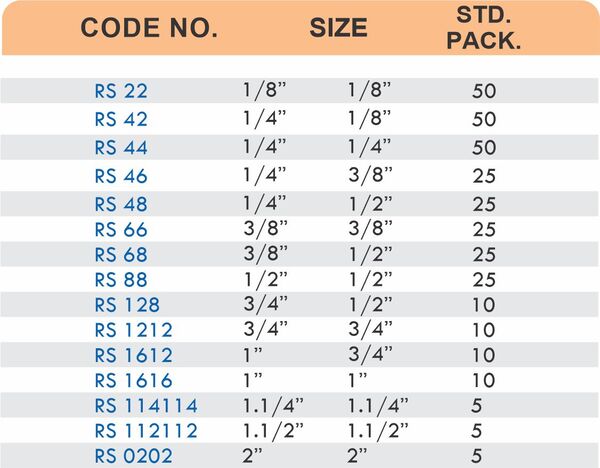
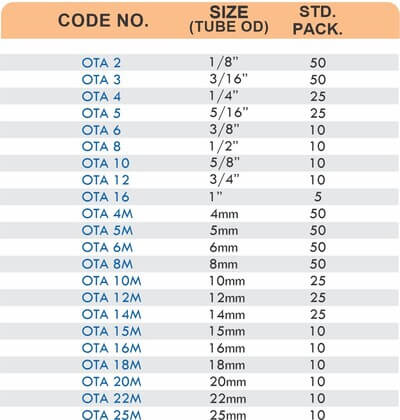
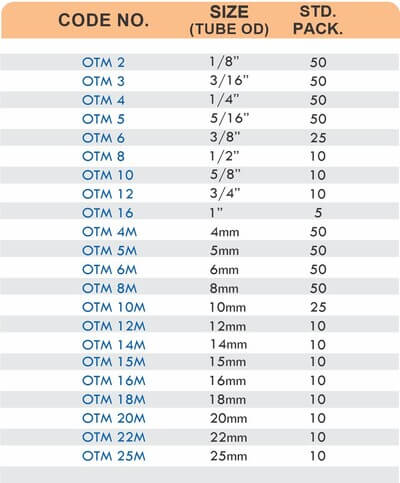
These fittings work with copper, PEX, CPVC, and PE-RT tubing in potable water systems, instrumentation, and hydraulic applications. They’re popular because you can disassemble and reassemble them without replacing parts—at least for the first few cycles.
Tools and Materials You Need
Get these ready before you start:
- Brass compression fittings (body, nut, ferrule)
- Pipe cutter or hacksaw
- Deburring tool or sandpaper
- Two adjustable wrenches
- Measuring tape or ruler
- Clean cloth
For PEX tubing 1/2 inch and larger, you’ll also need a brass sleeve and stainless steel insert. Smaller PEX tubes use a plastic sleeve with no insert required.
Preparing the Pipe
Cut the pipe to length using a pipe cutter for the cleanest result. A hacksaw works too, but make sure the cut is perpendicular to the pipe—angled cuts prevent proper seating. Remove all burrs from both the inside and outside edges with a deburring tool or sandpaper. Burrs damage the ferrule and ruin the seal.
Wipe the pipe end with a clean cloth to remove debris, paint, putty, or any coating. Inspect for dings, dents, or gouges that could prevent contact between the ferrule and pipe surface. Even small imperfections can cause leaks down the line.
Step-by-Step Installation
Slide the Components On
First, slide the compression nut onto the pipe with threads facing the end. Next, place the ferrule over the pipe. The order matters—nut first, then ferrule. If you’re using PEX, insert the stainless steel support tube into the pipe before adding the ferrule.
Insert Into the Fitting Body
Push the pipe into the fitting body until it stops against the internal shoulder. The pipe must be fully seated—partial insertion leaves gaps that leak under pressure. Keep the pipe straight and aligned with the fitting body to avoid cross-threading when you attach the nut.
Hand-Tighten the Nut
Screw the compression nut onto the fitting body by hand until snug. This centers everything and ensures proper alignment before you apply wrench force. Don’t skip this step—jumping straight to wrench-tightening increases the risk of cross-threading.
Final Tightening
Here’s where most people go wrong. Using two wrenches, hold the fitting body steady with one while turning the nut with the other. Tighten the nut one full turn past hand-tight—that’s usually enough to compress the ferrule and create the seal.
Compression fittings are specified by rotation, not torque. Thread pitch determines how much linear compression happens per turn. One turn is the target; one and a quarter turns maximum. More than that over-deforms the ferrule, turning the line contact into surface contact, which weakens the seal and causes leaks.
Check for Leaks
Turn the water supply back on slowly and inspect the connection. Look for drips or seepage around the nut. If you see a slight weep, tighten the nut another quarter turn—no more. Apply pressure gradually and watch closely. Excessive force damages the fitting and makes leaks worse, not better.
Common Mistakes to Avoid
Over-tightening is the number one cause of compression fitting failure. Tighter is not better—it’s a precision connection, not a brute-force one. Under-tightening also fails, but most installers err on the side of too much force.
Mixing components from different manufacturers often leads to leaks. Ferrule tapers, thread pitches, and internal dimensions vary between brands. Use matched sets from the same source to avoid compatibility issues.
Reusing old ferrules beyond their lifespan causes problems. You can disassemble and reassemble a fitting two or three times, but after that, replace the ferrule and inspect the fitting body for wear.
Maintenance and Reassembly
Inspect fittings regularly for signs of wear, corrosion, or damage. Check for leaks around connections, especially after temperature changes or pressure spikes. If you need to disassemble, loosen the nut and remove the pipe. When reassembling, you’ll need fewer turns since the ferrule is already swaged to the tubing.
Lubricate the compression nut threads periodically to keep the connection smooth and prevent galling on stainless fittings. A drop of lubricating oil or thread sealant helps, but never use putty or gasket material—it prevents proper contact and causes leaks.
Advantages Over Other Methods
Compression fittings don’t require soldering equipment, open flames, or curing time. You can install them in tight spaces where a torch would be dangerous. They’re reusable for the first few cycles, unlike soldered or glued connections. And they work across multiple tubing materials without specialized adapters.
The seal relies on mechanical compression, not chemical bonds or thermal fusion. That makes them more forgiving of minor installation variations and easier to inspect visually.
FAQs
Q: Can I use brass compression fittings for gas lines?
A: No. These fittings are designed for water, hydraulic, and pneumatic systems only. Gas connections require fittings rated and certified for gas applications with different sealing mechanisms.
Q: How many times can I reuse a compression fitting?
A: Two to three disassembly cycles before you should replace the ferrule and check the fitting body. Each cycle deforms the ferrule slightly more, reducing seal effectiveness.
Q: Do I need thread sealant or tape?
A: No. Compression fittings seal through ferrule compression, not thread sealing. Adding sealant or tape can actually interfere with proper contact and cause leaks.
Q: What if the fitting still leaks after tightening?
A: First, try another quarter turn. If it still leaks, disassemble, inspect the pipe end for burrs or damage, check the ferrule for proper placement, and reassemble. Persistent leaks usually indicate damaged components or misalignment.
Q: Can I mix brass fittings with stainless ferrules?
A: Only if they’re from the same manufacturer and specified as compatible. Material mixing works when designed together, but mixing brands creates dimensional mismatches.
Make the Right Connection
Brass compression fittings give you reliable, reusable connections when installed correctly. The key is understanding that precision beats force—one turn past hand-tight, check for leaks, and stop. Follow the sequence, use clean components, and avoid over-tightening.
KK International supplies precision-engineered brass compression fittings designed for long-term performance in demanding applications. Our fittings meet industry standards for dimensional accuracy and material quality, giving you consistent results across installations. Browse our complete range at kkinternational.co.in or contact our technical team for sizing and application guidance. Get the fittings that install right and seal tight.